MOOSEN BLOG
Pt90Ir10 vs Pt80Ir20 Marker Bands: Material Selection Factors
When we review a catheter marker band drawing at MOOSEN, we start with three questions. How will the band fit on the shaft? How will it be secured? What does the device team need to see under fluoroscopy? Those answers give us a basis for comparing Pt90Ir10 and Pt80Ir20.
Compare the alloy and its material condition together. If you change grades, check the installed dimensions, attachment, and fluoroscopic visibility on a representative assembly before approving the change.
What is the difference between Pt90Ir10 and Pt80Ir20?
Alloy composition and material condition both affect hardness and strength. We compare the same material condition first, then check how each marker band behaves during forming and assembly.
| Selection factor | Pt90Ir10 | Pt80Ir20 |
|---|---|---|
| Nominal composition by weight | 90% platinum, 10% iridium | 80% platinum, 20% iridium |
| Typical hardness, annealed wire | 44 HRA | 57 HRA |
| Typical hardness, cold-worked wire | 55 HRA | 64 HRA |
| Forming and assembly review | Check shape and fit after forming or adjustment during installation. | If higher hardness is useful, verify forming and attachment in the selected condition. |
| Fluoroscopic visibility | Compare both grades on representative assemblies with matching band geometry, mounting position, and imaging conditions. | |
Hardness values are typical results for medical wire in the stated condition. Confirm finished-band acceptance requirements separately. Alleima Pt-Ir medical wire data.
Does Pt80Ir20 make a marker band easier to see?
Check visibility in the intended assembly. Wall thickness, axial length, band position, nearby components, and imaging conditions all affect what you see. The alloy designation alone cannot tell you how clearly the installed band will show up.
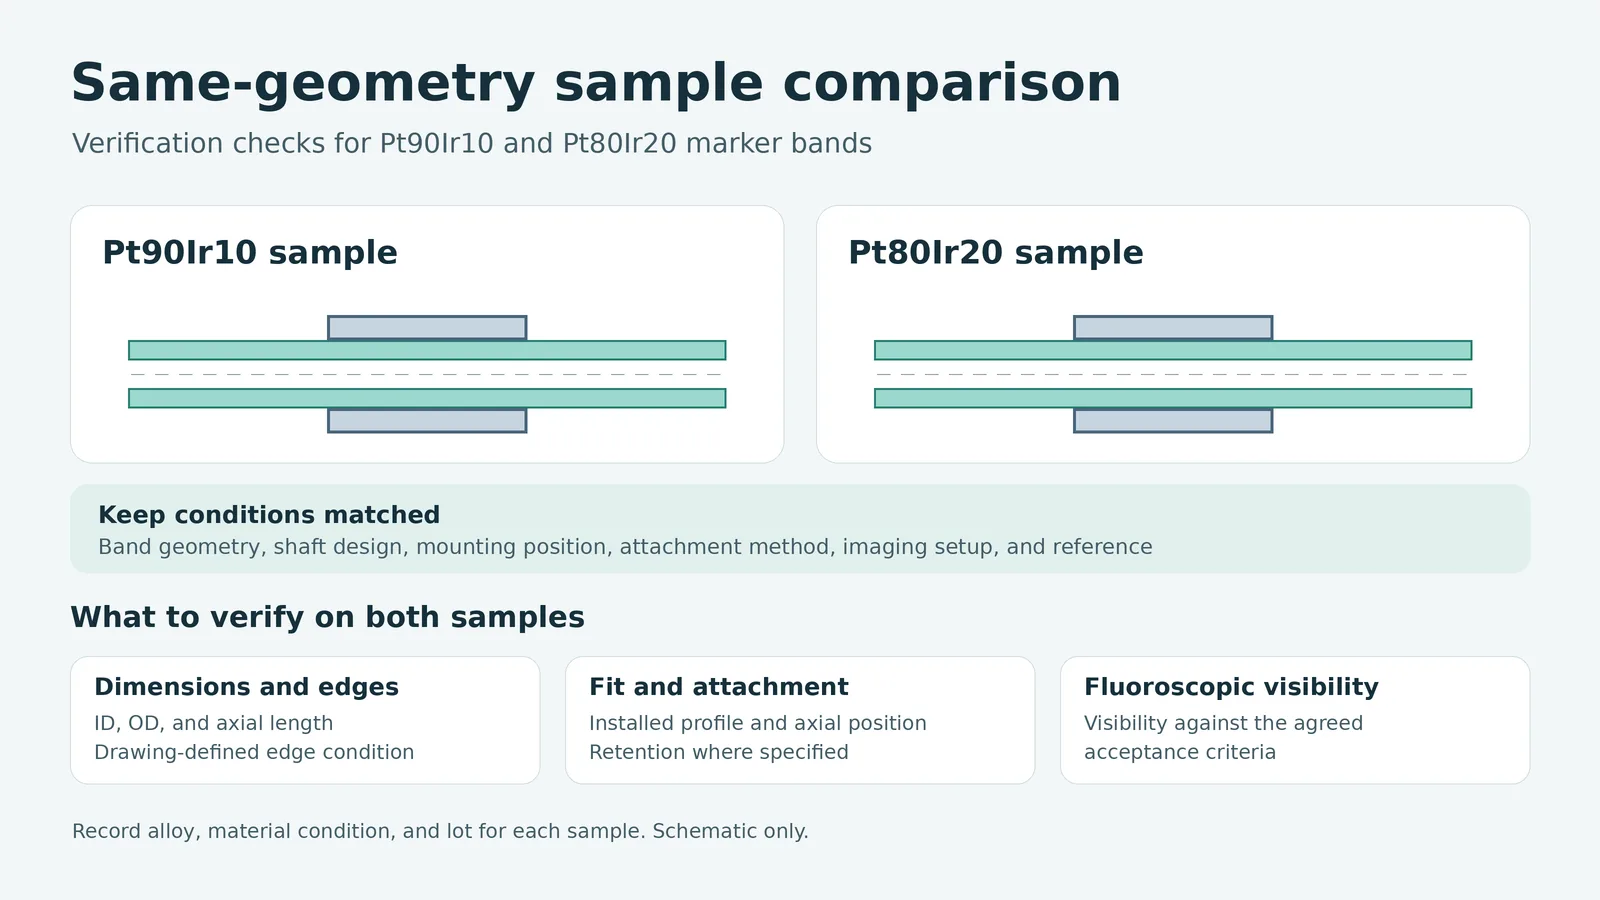
If the goal is to isolate the alloy’s effect, compare bands with the same geometry, mounting position, and imaging setup. If you also want to change the wall or length, evaluate that change separately. Record each sample’s configuration and compare its visibility against the device team’s acceptance criteria. ASTM F640 is a reference for radiopacity test methods.
What should you check before changing the alloy?
For a new design, compare both candidates against the same installation and visibility requirements. For a released drawing, treat a different alloy or material condition as a proposed change. Confirm the applicable approval requirements and agree on the checks before updating the drawing.
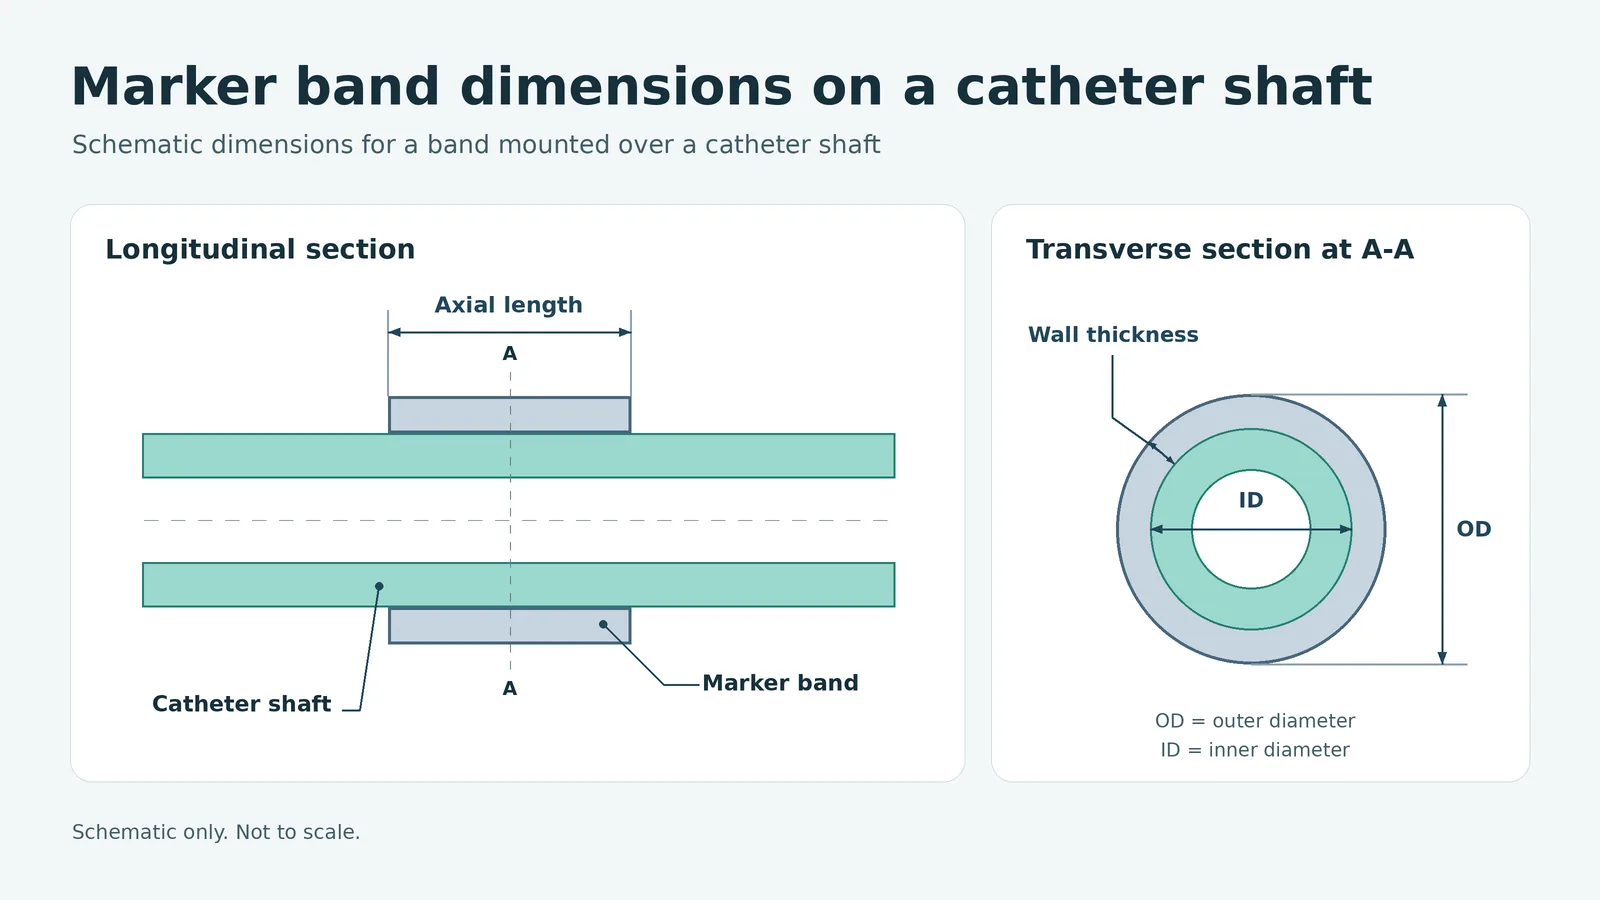
- Band dimensions and edges. Check the bore, outer diameter, length, and any drawing-defined edge requirements before installation.
- Fit and attachment. Compare installed profile, roundness where specified, and axial position. Verify retention when the design calls for it.
- Fluoroscopic visibility. Use the same setup and reference for both samples. Record the band geometry, alloy, material condition, and lot with the images.
What should you send for a MOOSEN drawing review?
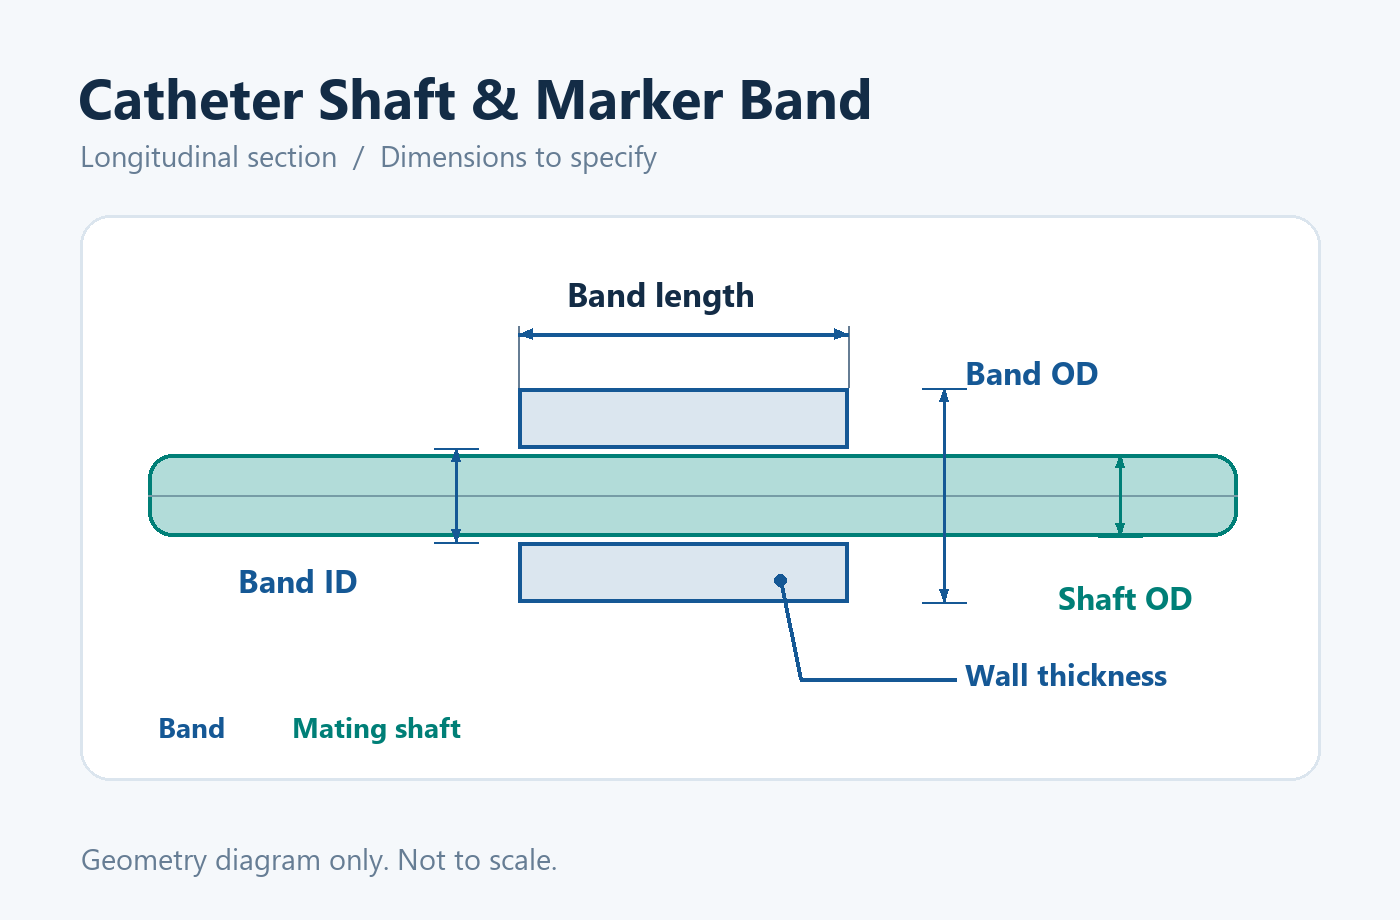
Send the drawing revision, target grade or candidate grades, material condition if specified, band ID, OD or wall thickness, axial length, and tolerances. Include the shaft diameter, attachment method, prototype quantity, and any inspection records you need. If the grade is still open, tell us which constraint drives the decision, such as the maximum installed profile or the visibility needed at a particular band position.
For drawing details and documentation, see our marker band specification guide.
Comparing two alloys for the same shaft? Share your drawing and the checks you want to run. We can review the geometry and discuss sample options for your project.
Which MOOSEN marker bands can you review?
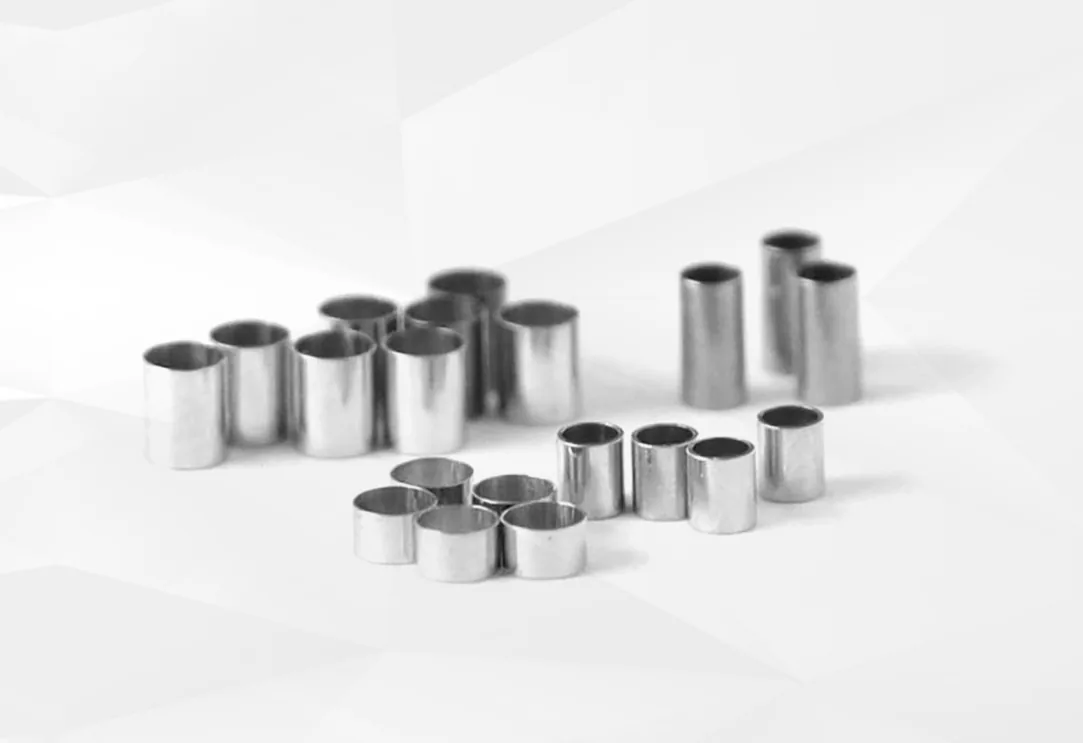
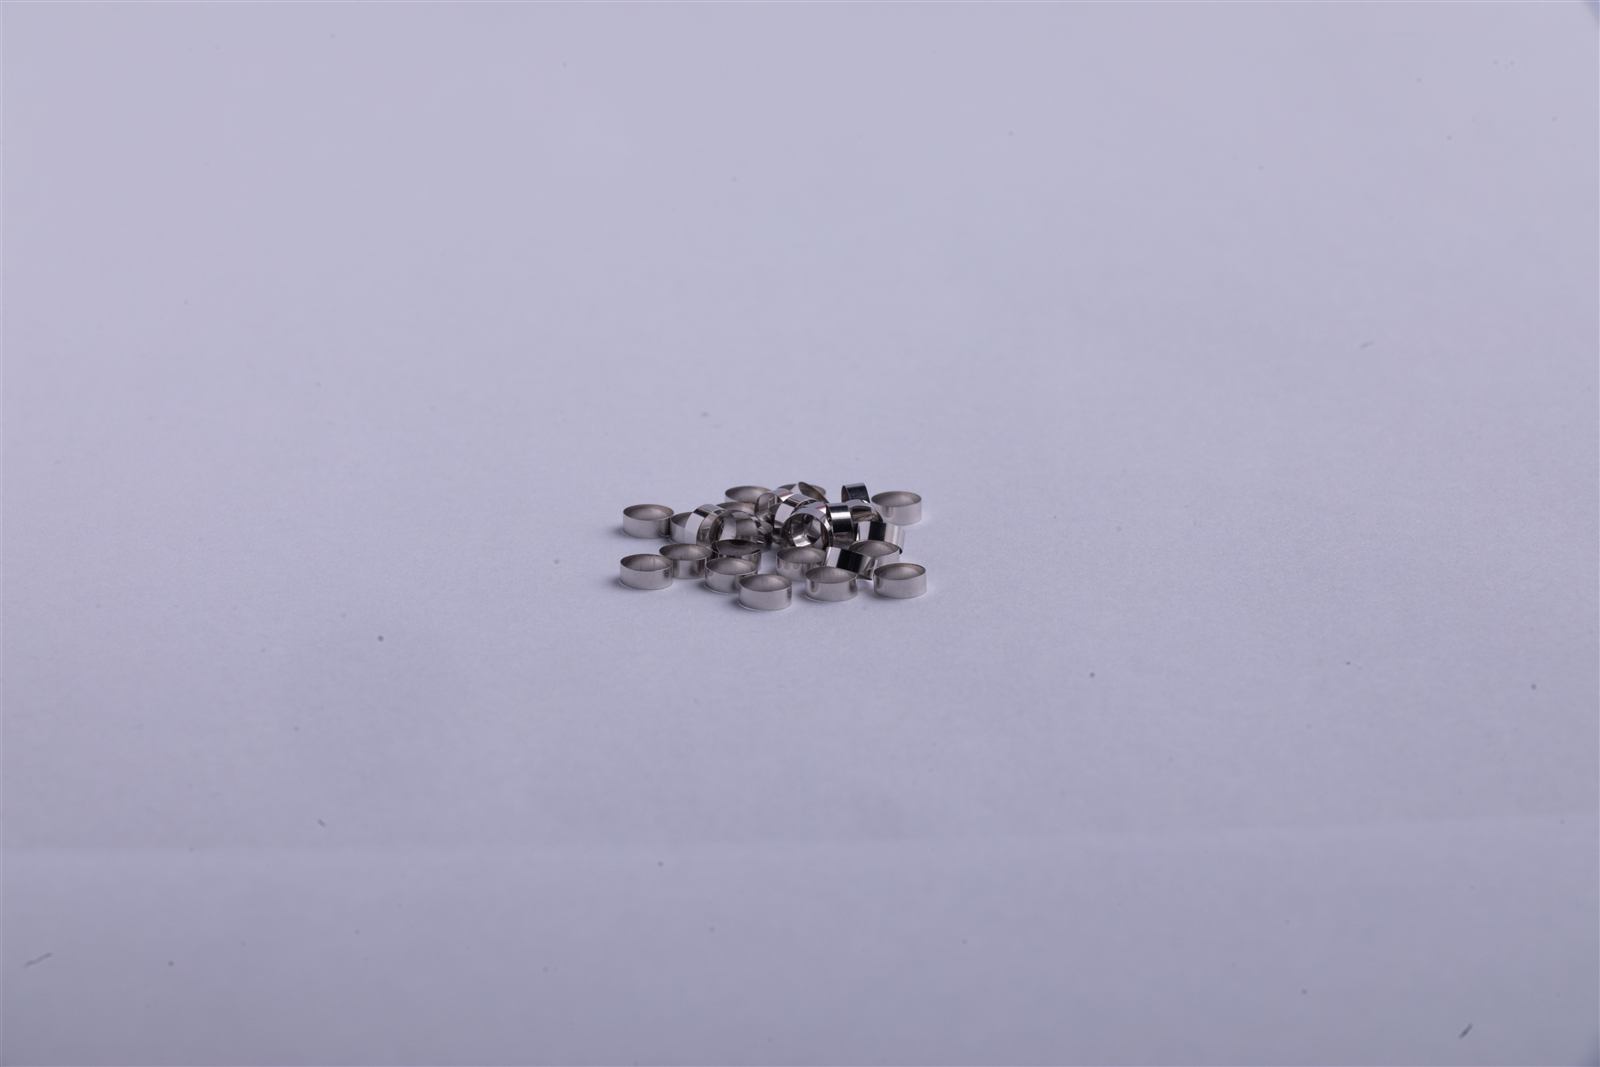
Thin-Wall Platinum-Iridium Marker Bands
A band configuration to review when radial space is limited.